-
Purlwise kfb
This increase is used in my designs Pyramid and Winter Pyramid. As you can guess from its name, it produces exactly the same result as kfb, except that it is worked on the WS. This is the original video linked in my pattern: If you have difficulties with the above video, here is an alternative way on how to work it: This video also includes a slow motion of the original method as described as in the pattern.
-
Beginner Knitting Tutorial: Long-tail Cast-On
The long tail cast on is THE cast on method. It’s stretchy, it’s simple to do. If I can only choose a single cast on method, that would be it. It works well whether you’re knitting flat or in the round. In this video, I will show you how I do it. I always use gauge needle to do my cast on instead of going up a needle size. You just need to make sure that your CO stitches aren’t too tight and slide easily on the needle. How long does the tail need to be? The exact length is 2.5 times the length you need to cast on (I’ve…
-
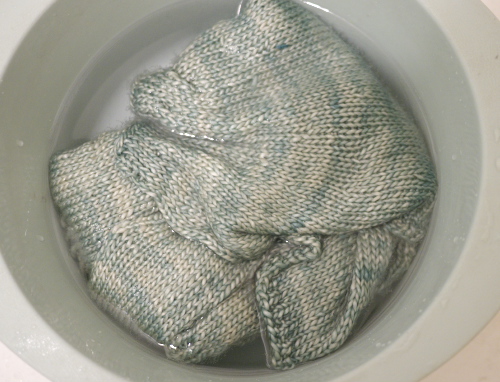
How to block a sweater
Introduction: This article is an excerpt of the Luminous Summer pattern. The effect of blocking a sweater is similar to that of ironing but without the heat. It evens out stitches and makes the sweater look more polished. It also keeps edges from rolling. It is a step that you definitely do not want to skip. Here I describe how I block a sweater and it does not mean to be THE only way to do it. Step 1. Soak the sweater in tap water. I do not heat water nor add detergent. Step 2. Gently squeeze out excess water and put it on a dry towel. Step 3. Roll…
-
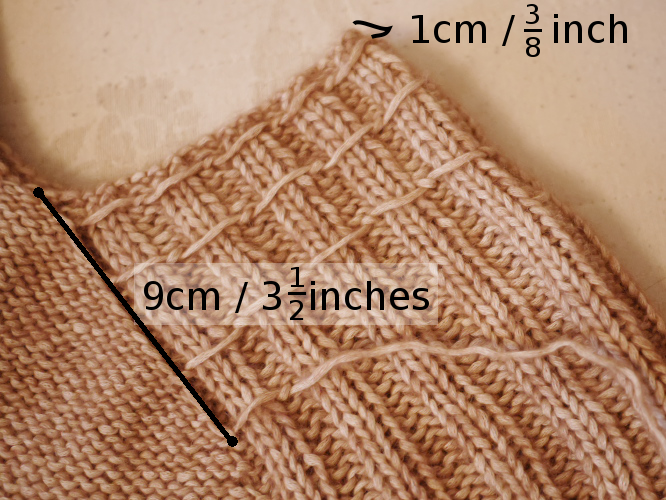
Neckline reinforcement
Introduction: This article is an excerpt of the Sammen tunic pattern. Unlike the typical i-cord reinforcement, this technique is completely invisible. It can be applied to any cardigans or pullovers with a wide neckline. The neckline has to be wide since the reinforcement is only minimally stretchy. If you apply it to an already tight neckline you might not be able to pull your sweater over your head. The good thing about this reinforcement is that it is done after your garment is completely finished. You can try the sweater on and even wear it a few times before deciding whether you need this reinforcement. If you find that the…
-
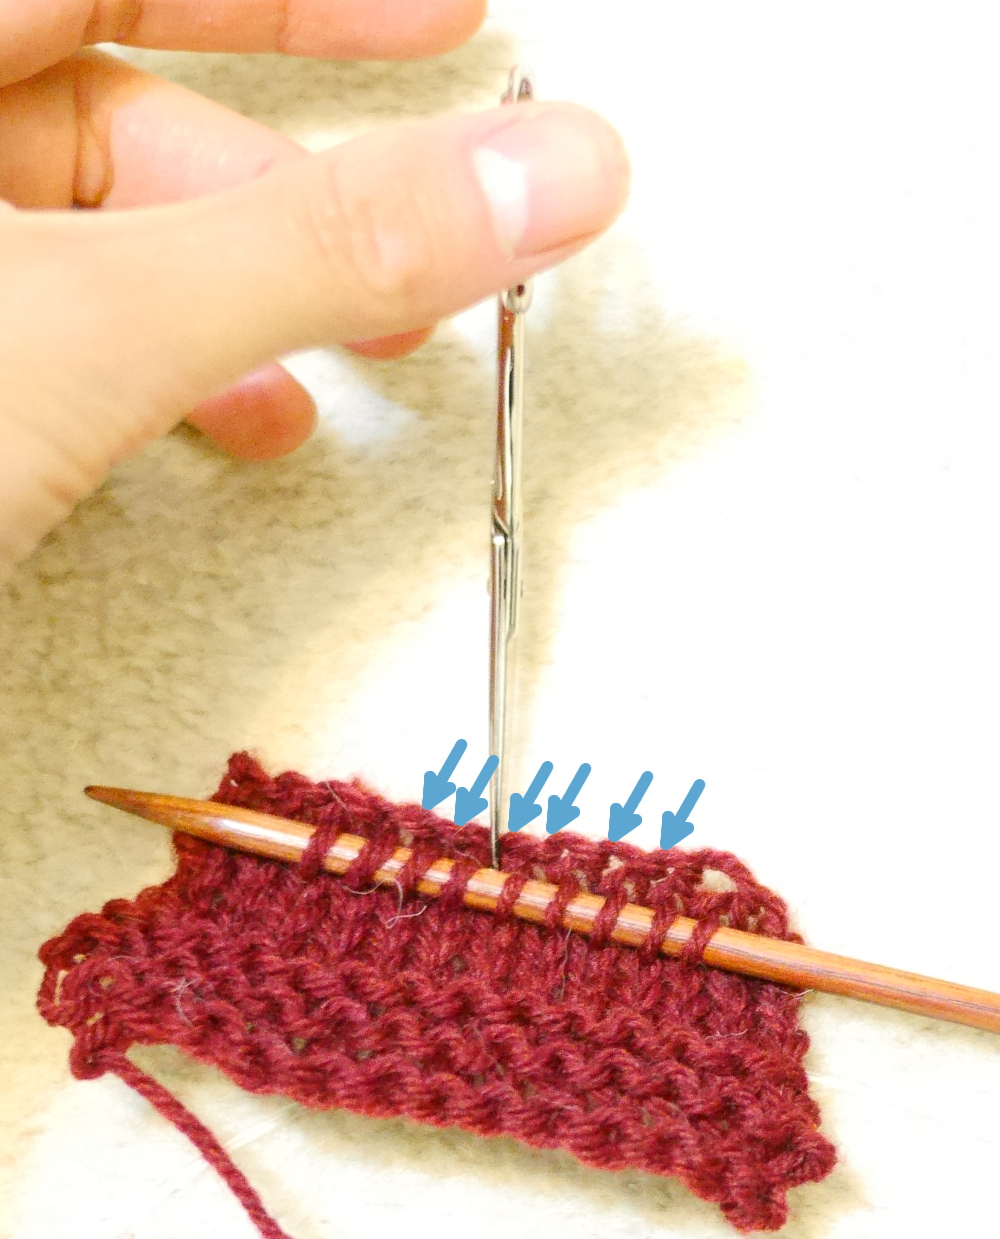
Afterthought Provisional Cast-on
In this tutorial, I am going to show you how to transform a knitted cast-on to a provisional cast-on. I have called it “afterthought provisional cast-on”. It is a useful technique to transform an otherwise too tight neckline. In Figure 1, the upper edge is the knitted cast-on edge. The blue line shows where you should pass through your needle. For this example, I am going to transform all except the outermost 2 stitches into provisional cast-on stitches. Figure 2 shows how it looks after inserting the needle. Then you cut through the cast-on edge between the stitches (do not cut between the first and last 2 stitches). The blue…
-
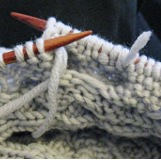
One-Row Buttonhole
My favorite buttonhole is a simple twisted yarn over. But when I need a bigger one, a one-row buttonhole is my preferred technique. Below is an excerpt from my pattern Minimissimi Sweater Coat. Step 1: Work to the buttonhole position, slip 1 stitch knitwise, bring the yarn to the front and drop it (upper left). *Slip 1 stitch knitwise (upper middle), pass the previously slipped stitch over the just slipped stitch. One stitch bound off. Repeat from * to bind off the required number of buttonhole stitches (upper right). Step 2: Return the last stitch to the left needle. Turn work. Bring yarn forward. *Insert the right needle…
-
Weaving in ends
I confess that weaving in ends is the least interesting part for me for every project. No exception. I can easily spend one hour weaving in all those ends. So when I worked on my Minimissimi Sweater Coat, I had to find a way to make it less tedious. Below is an excerpt from the pattern. I hope that you find it useful 🙂 Joining a New Ball of Yarn What is: A knotless and “froggable” method to join in a new ball of yarn for those who find weaving in ends tedious and time consuming. How to: When you are at the last 25 cm / 10″ of the…
-
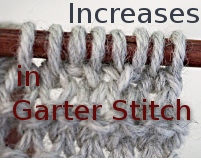
Increases and Decreases
I’m obsessed about increases and decreases. I almost always make a swatch for each project to decide on which increase and decrease to use. Top down designs are particularly challenging as increases often have to be worked on every row and not many increases look good that way. In my most recent design Matilde Cardigan, I had one more problem: the design is asymmetric. One raglan seam is worked with increases and the other is worked with decreases. After trying out all the increases I knew about, I came up with my own. Here you are: Lifted increase used in Matilde Cardigan inc1-L – insert left needle into the st…